
NFT Launch Guide: How to Build an NFT Project from Scratch?
TechFlow Selected TechFlow Selected
NFT Launch Guide: How to Build an NFT Project from Scratch?
What steps should be considered when starting a new NFT project?

Written by: Wipiway.eth, bozo.eth
Translated by: TechFlow
I frequently receive inquiries from project founders who want to launch their first NFT project and typically ask similar questions about the steps involved in launching an NFT collection. Although every project is unique, there are usually several steps that apply to most projects.
Below are some steps to consider when starting a new project. Please note that my comments and opinions are included within these steps, but of course you may choose to approach them differently.
1. Decide which blockchain to launch your NFT on
There are several good options, such as Ethereum Mainnet, Polygon, Arbitrum, Solana, Tezos, etc. Each chain has its own thriving ecosystem and community.
When deciding which chain to launch on, consider the following factors:
a) Your technical team — do they have experience and familiarity with EVM-based chains (such as Mainnet, Polygon, Arbitrum, Optimism), or with Solana or Tezos?
b) How important are transaction speed and cost for users? For example, if you're building a game, you might not want users to pay high fees each time they use an NFT in-game. In this case, Ethereum Mainnet may not be ideal; instead, consider cheaper and faster alternatives like Polygon or Solana.
c) Size of the investor community — currently, the vast majority of all NFT sales and trading still occur on the Ethereum Mainnet. It remains the largest chain with the biggest user base willing to spend ETH.

My usual recommendation at this step is to go with Ethereum Mainnet. Despite its drawbacks, as mentioned above, over 90% of the market is still dominated by Ethereum.
2. Finalize your artwork
Your NFT can be any type of media — video, image, audio/music, etc. The creation process varies for each type. I’ll focus on "static" image NFTs here, as they are one of the most popular types in the market.
For PFP-style collections, after several discussions with your graphic designer, they will deliver the final assets. For instance, you should receive a folder labeled “eyes” containing all desired variations. Similarly, you’ll get folders for other attributes such as noses, hairstyles, backgrounds, etc.
The next step involves you or your developer running these files through an art generation engine that applies different logic and weights to attributes (e.g., if you want golden backgrounds to appear in only 1% of NFTs, etc.).
Typically, you don’t need to write custom code for this. An open-source project called HashLips Art Engine handles all of this for you.

3. Develop a simple and visually appealing front-end landing page
This landing page is often the first impression potential buyers have of your project, so quality matters greatly. It's also crucial to convey the intended message or vibe (e.g., mystery? cartoonish/fun anime? horror, etc.) on the landing page. Make sure your designer/developer fully understands your vision.
4. Finalize sale logic, sequence, phases, and develop the smart contract
Before writing actual smart contract code, several aspects of the sale must be finalized, such as:
-
Whitelist — collect a list of user addresses allowed to mint during the sale.
-
Pre-sale, public sale — some collections prefer selling NFTs in different phases and at different prices.
-
Auction — Dutch auctions are common among popular collections, where prices start high and gradually decrease until enough buyers participate.
-
Team reserve — some teams choose to reserve a number of NFTs for themselves. For example, the BAYC team reserved hundreds for themselves.
-
Reveal — most NFT collections do not reveal images at launch. Instead, they wait a few days to build suspense, often revealing all at once at a specific time.
Based on the above, an important final decision is whether you can use and deploy a pre-built NFT sale smart contract or require custom development. There are several good options like Thirdweb and Manifold whose pre-built templates save significant development time. However, if these don't meet your needs, your developer should build a custom minting contract using tools like the OpenZeppelin library.
Note that an important aspect — how raised funds will be used post-sale — must be determined in advance, and developers must ensure the security of the "withdraw funds" function.
5. Integrate Web3 into your website, deploy to a testnet, and conduct simulated sales
Once the smart contract is ready, the front-end website needs to be connected to it, adding minting functionality to the user interface. Testing is critical to ensuring a secure and smooth sale. Your application should be deployed on a test network like Goerli or Sepolia. As a project founder, you should also participate with your developers in simulated sales across various stages (whitelist, public sale, etc.). Ideally, test all features including reveal and fund withdrawal.
At this stage, thoroughly test management and maintenance functions as well — such as updating metadata links (after reveal), withdrawing funds to designated wallets, pausing the sale (if issues arise), adding whitelist addresses, etc.
6. Audit
This step is optional, but I generally recommend getting a third-party team to audit the smart contract — especially if it’s custom-built — assuming budget allows.
7. Upload all images/videos to IPFS / Arweave
Since blockchains are not efficient for storing data, most NFT collections store media files on technologies like IPFS or Arweave, keeping only references to those files on-chain.
Assuming your media files are now ready, developers should upload them in a specific format to IPFS or Arweave.
If you plan to keep the collection unrevealed until after the sale, you must also prepare a "pre-reveal" set of media on IPFS.
8. Time to deploy the sales smart contract on mainnet
If this is your first time deploying a smart contract on a live blockchain, it truly is an exciting moment. Everything runs smoothly — miners/validators and their servers processing blocks, maintaining consensus and security.
Deployment can be done by your developer, or they can guide you to deploy the contract yourself from your laptop using your own wallet.
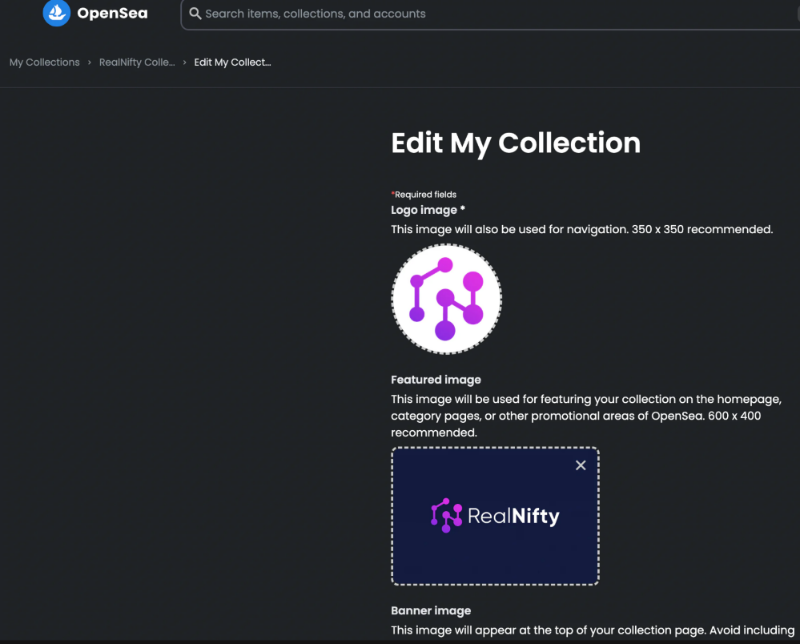
After deployment, I recommend immediately minting at least one NFT to trigger recognition of the collection by OpenSea, granting you access to the collection admin page where you can upload banner images, descriptions, social media links, etc.
9. Share all relevant details with your community on Discord:
-
Minting instructions;
-
Official links to OpenSea collection, smart contract address, and Etherscan;
-
Date and time of sale;
-
Whitelist details (if applicable);
-
Maximum limits, gas price estimates, and how to check remaining NFT counts, etc.;
10. Start the sale!
If you've tested thoroughly and have competent developers, this phase should be mostly hands-off, as the smart contract and website handle the heavy lifting. You'll likely focus more on public-facing marketing efforts.
11. Follow up and continue engaging with your community
We often see projects abandoned after the initial sale, so we actively look for projects with long-term plans.
The NFT space is still very early. Personally, I’m extremely excited about its potential impact on gaming and the metaverse. Yes, we’re currently in a downturn, but this is part of any technology adoption cycle. Projects and companies built during bear markets have the highest chance of reaping maximum rewards in the eventual bull market (e.g., Uniswap, Compound, OpenSea).
Join TechFlow official community to stay tuned
Telegram:https://t.me/TechFlowDaily
X (Twitter):https://x.com/TechFlowPost
X (Twitter) EN:https://x.com/BlockFlow_News